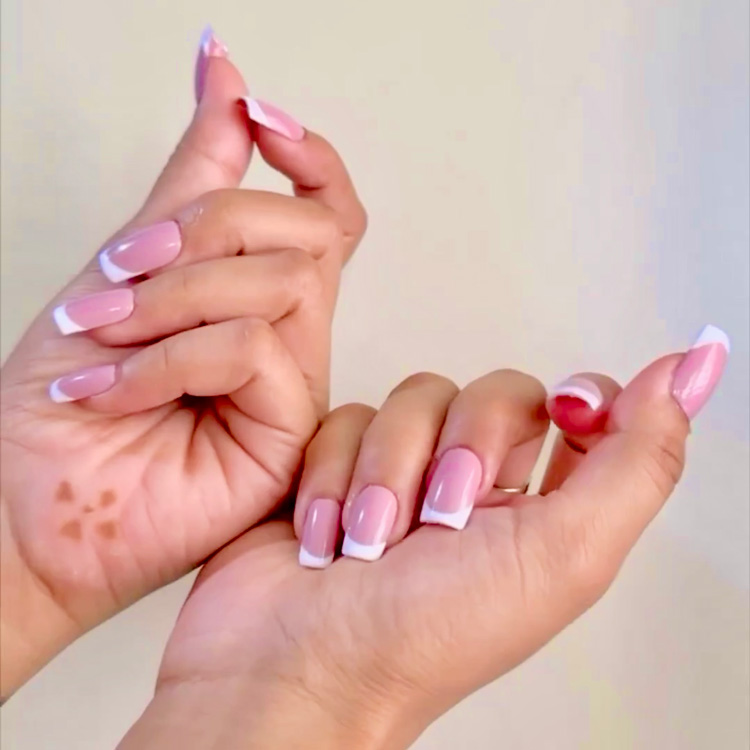
Press-on nails are a quick and fabulous way to achieve stunning nails without the time and expense of a salon visit. Whether you’re going for an everyday look or something special for an event, MGloss Nails has you covered.
But before you can flaunt your beautiful new manicure, it’s important to ensure your press-on nails fit perfectly. Choosing the right size not only makes them look natural but also ensures comfort and longevity. Here’s a guide on how to size and apply your MGloss press-on nails like a pro!
1. Measure Your Natural Nails
The first step is to measure the length of your natural nails. Accurate measurements are essential to pick the right size.
– Start from the base of your cuticle and measure straight down to the tip of your nail.
– Avoid measuring corner to corner, as this can give inaccurate results. Be precise, and write down these measurements for each finger to use as a reference when selecting your press-on nails.
2. Match the Length and Width
Once you have your measurements, compare them with the sizes available in your MGloss Nails set. While there may not always be an exact match, it’s better to choose a slightly longer size and file them down for a custom fit.
Also, pay attention to the width of your nails. A good fit takes both length and width into account. If the press-on nails are too wide, they can cause discomfort and may not align properly with your natural nails. If they’re too narrow, the edges may curl or dig into your skin.
3. Inspect the Quality
Before applying the nails, inspect the materials closely. At MGloss, we pride ourselves on offering premium quality, long-lasting nails. Be sure to check for any signs of chipping or defects in your press-ons to guarantee a smooth and seamless finish.
For the best results, opt for nails with a matte finish, as they tend to blend better with your natural nails, especially under various lighting conditions.
4. Apply the Glue
Once you’re satisfied with the fit and quality, it’s time to apply the glue.
– Add two small dots of adhesive onto each press-on nail, then quickly place it onto your natural nail.
– Be mindful of the placement to ensure the nail sits properly. Hold down each press-on nail for 10-15 seconds until the glue sets, creating a firm bond that ensures your nails stay put.
5. File for the Final Touches
After application, it’s time for the final touches. Use a nail file or buffer to smooth any excess edges. MGloss nails are designed to be easily shaped, so feel free to customize the shape and length to your liking.
Once you’ve filed the nails to your preferred finish, apply a clear top coat to protect your manicure from chipping or peeling. This step will extend the life of your press-ons and keep them looking flawless longer.
MGloss Nails offers a wide range of sizes and stunning designs that are perfect for any occasion. Our nails are crafted with high-quality materials to provide long-lasting wear, comfort, and a beautiful, salon-quality look—all from the comfort of your home.
Ready to upgrade your manicure game? Explore our collection at MGloss Nails and find your perfect press-on set today!

