Application Instructions:
1. Prepare Your Natural Nails:
-
- Start with clean, dry nails.
- Gently shape and smooth your natural nails using a nail file, ensuring they are free from rough edges.
- Push your cuticles back
2. Select the Perfect fit from M’GLOSS Nails Kit:
-
- Choose our press-on nails that match your natural nail size and shape for the best fit.
3. Apply M’GLOSS Nail Glue:
-
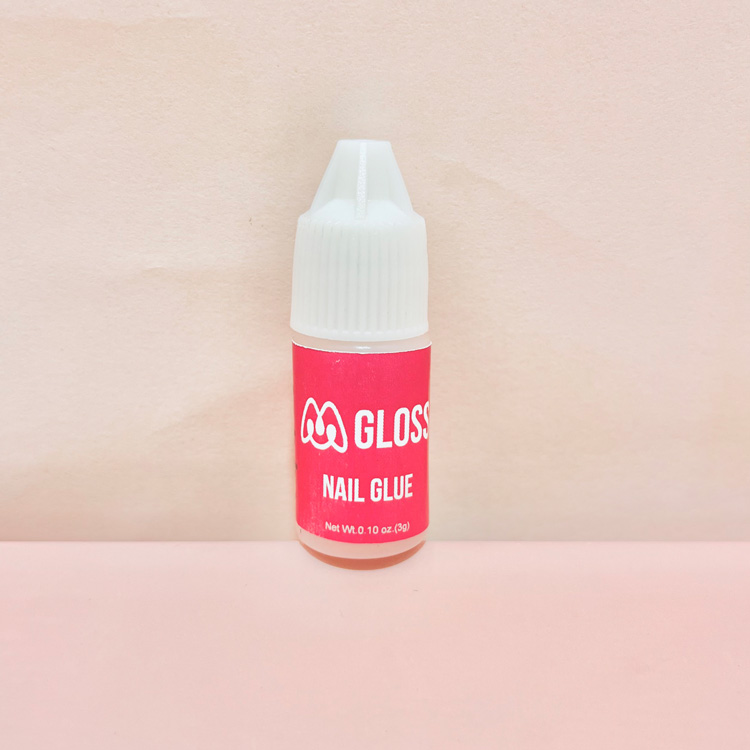
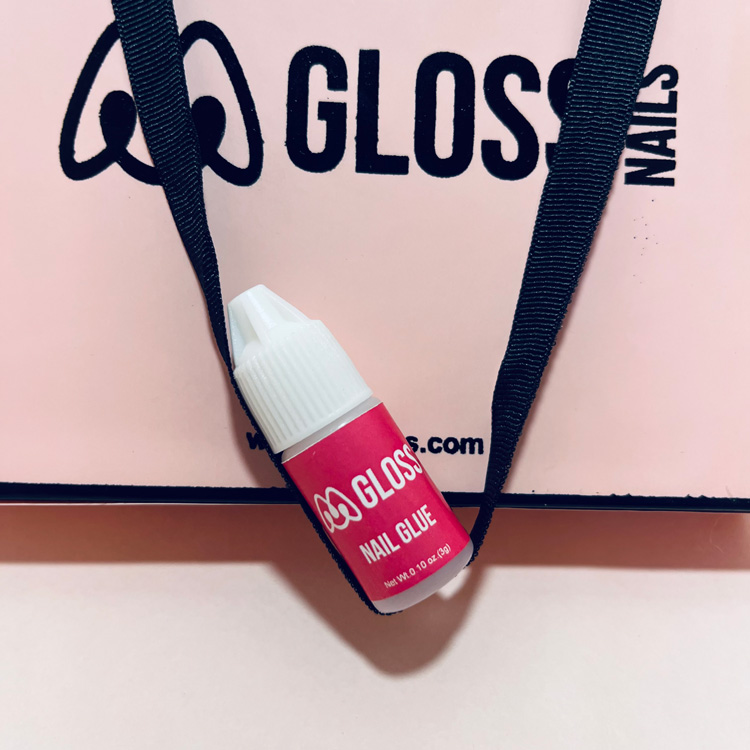
- Squeeze a small amount of our Nail Glue onto the back of the press-on nail.
- Alternatively, apply a thin layer of glue to your natural nail.
4. Attach the Press-On Nail:
-
- Align the press-on nail with your cuticle and firmly press it in place.
- Hold for 20-30 seconds to allow the glue to bond.
5. Repeat for Each Nail:
-
- Apply one nail at a time, ensuring accurate placement.
6. Be Gentle:
-
- Be gentle to prevent any damage to the press-on or natural nails.
Removal Instructions:
1. Prepare a Bowl of Warm, Soapy Water:
-
- Fill a bowl with warm water and add a few drops of liquid soap. Mix it up.
2. Soak Your Nails:
-
- Put your nails in the warm, soapy water.
- Leave them there for 15-20 minutes. It helps soften things up.
3. Grab the Wooden Stick:
-
- Use the flat end of the wooden stick that comes with your kit.
4. Be Gentle:
-
- Carefully, from the side of your nail near the cuticle, try to lift the press-on nail. Don’t rush or force it.
5. Don’t Rush:
-
- Remember, patience is important. Take your time.
Important Note:
-
- Liquid glue makes a strong bond, so don’t try to remove the nails within 3-4 days after putting them on.
- It’s best to let them stay for at least 15 days or until you notice they’re starting to feel loose. That way, they come off more easily and without any harm.
Remember to use our Nail Glue with care during both application and removal to ensure the best results while preserving your natural nails’ health. For any concerns or questions, feel free to contact our customer support team.


